ASP.NET core razor components
In this video and in our upcoming videos, we will discuss everything you need to know to create effective and reusable asp.net core razor components.
- Blazor is a component-driven framework, meaning components are the fundamental building blocks of a Blazor application.
- They can be nested, reused, and if implemented properly, can even be shared across multiple projects.
- Component files have the extension .razor
Blazor component example
The following is the Counter component that we get when we create a new Blazor project.
Counter.razor
@page "/counter"
<h1>Counter</h1>
<p>Current count: @currentCount</p>
<button class="btn btn-primary" @onclick="IncrementCount">Click me</button>
@code
{
private int currentCount = 0;
private void IncrementCount()
{
currentCount++;
}
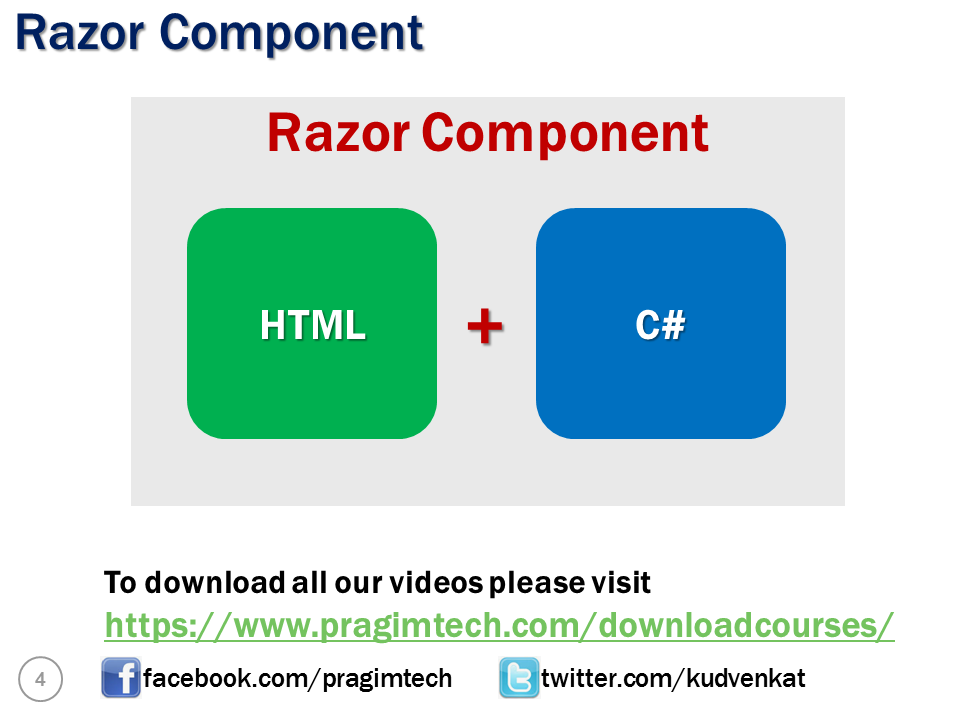
}It is a combination of two things
- HTML markup which defines the user interface of the component i.e the look and feel.
- C# code which defines the processing logic
In this example
- The c# code increments the currentCount variable value by 1 every time the button is clicked.
- When the button is clicked IncrementCount() function must be called. This is wired up using the onclick attribute.
- In the HTML, to access the private variable currentCount value, use @ character.
- C# code is in @code block. It's also possible to have more than one @code blocks.
When the application is compiled, the HTML and C# code converted into a component class. The name of the generated class matches the name of the component file. A component file name must start with an uppercase character. If you add a component file that starts with a lower case character, the code will fail to compile and you get the following compiler error.
Component names cannot start with a lowercase character
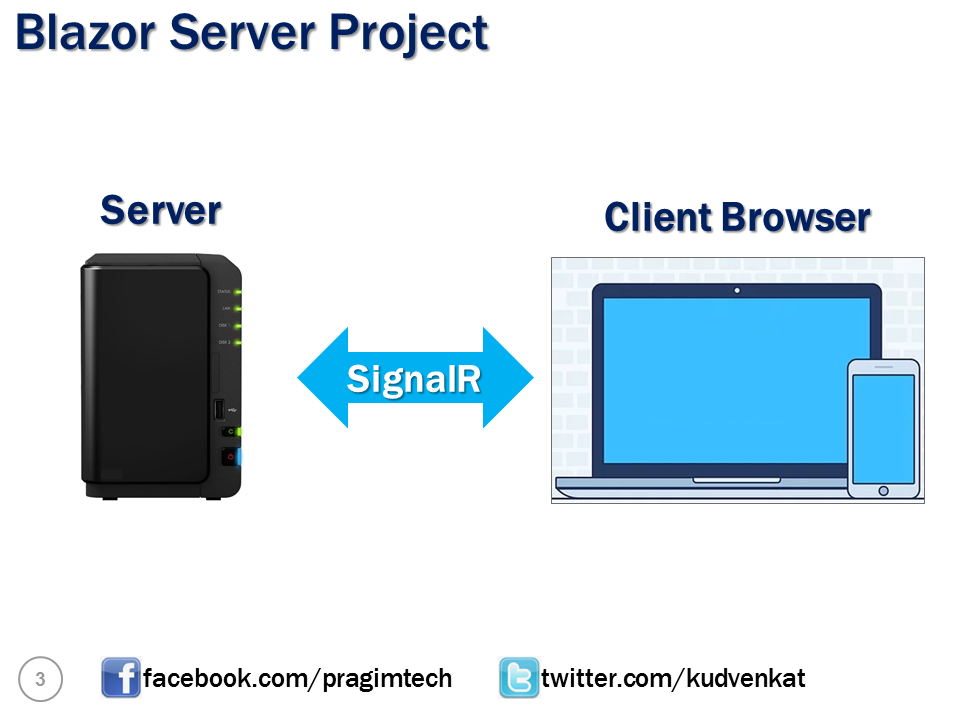
Remember, blazor server project runs on the server.
- A SignalR connection is established between the server and the client browser. After the counter component is initially rendered and when the user clicks the button.
- The information about the click event is sent to the server over the SignalR connection.
- In response to the event, the component is regenerated, but the entire HTML is not sent back to the client. It's only the diff, i.e the difference in the render tree, in this case, the new counter value that is sent to the client browser.
- Since only the changed part of the page is updated instead of reloading and updating the entire page, the application feels faster and more responsive to the user.
Nesting razor components
One way to have the Counter component rendered is by navigating to /counter in the browser. This path is specified by the @page directive at the top of the component.
@page "/counter"A component can also be nested inside another component using HTML syntax. For example, use <Counter /> to nest the Counter component in the Index component.
Where to place components
Components can be placed anywhere within a blazor project. It's a good practice to place components that produce webpages in the Pages folder and reusable non-page components in the Shared folder. If you want to, you can also place them in a completely different custom folder within your project.
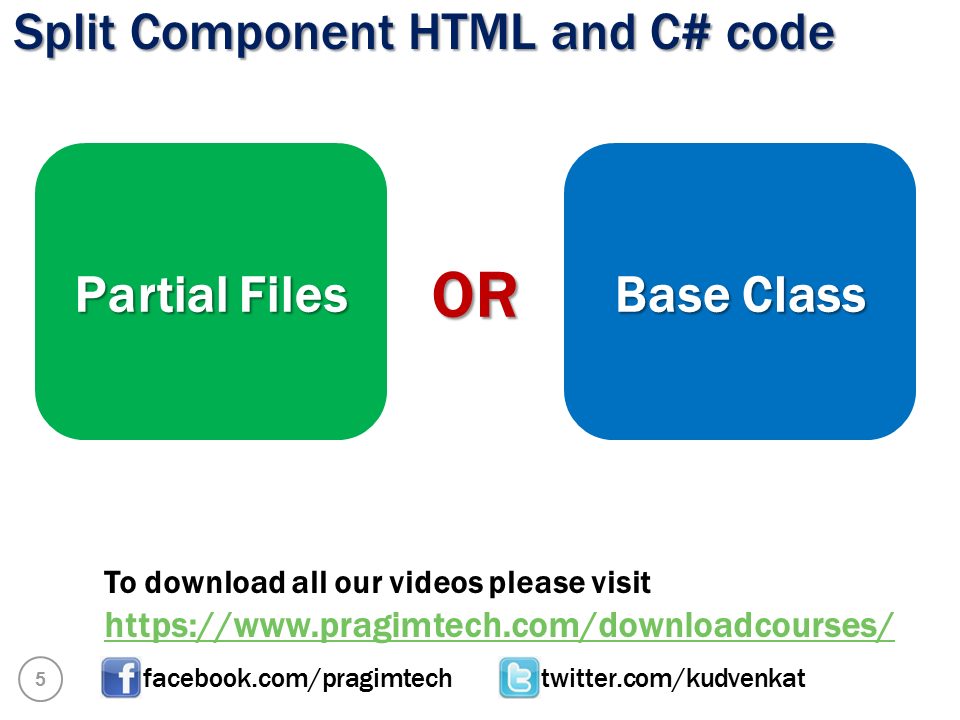
Split component HTML and C# code
In this example, both the HTML and C# are in a single file. This is fine for a simple component like this counter, but it is usually a good practice to separate HTML and C# code into their own files. It is not only good from maintenance standpoint, but it is also easy to unit test. There are 2 approaches, to split component HTML and C# code into their own separate files.
- Partial files approach
- Base class approach
We will discuss these 2 approaches in our next video.
Slides


© 2020 Pragimtech. All Rights Reserved.