ASP.NET core identity setup in blazor application
In this video we will discuss how to install and set up ASP.NET core identity in an existing blazor application. In our upcoming videos we will implement authentication using the identity API.
What is ASP.NET Core Identity
ASP.NET Core Identity is a membership system. It allows us to create, read, update and delete user accounts. Supports account confirmation, authentication, authorisation, password recovery, two-factor authentication. It also supports external login providers like Microsoft, Facebook, Google etc.
We discussed ASP.NET Core Identity in detail in our ASP.NET Core tutorial. If you are new to it, please check out videos from Part 65 from our ASP.NET Core tutorial.
ASP.NET core identity setup in blazor
We will use Visual Studio Scaffolder to add identity support. Right click on the Blazor web project and select Add - New Scaffolded Item...
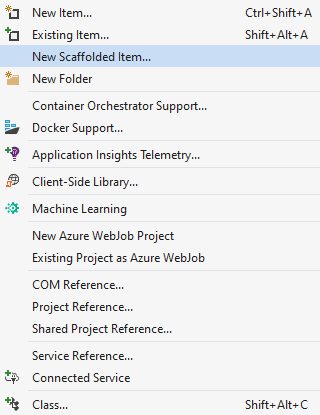
Select Identity from both the left and middle panes in Add New Scaffolded Item dialog.

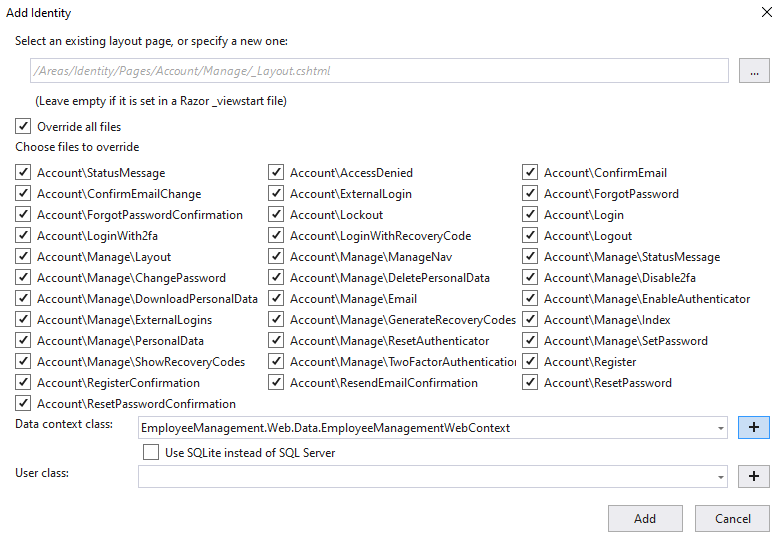
On Add Identity dialog
- Check
Override all files- This adds all the Identity views and classes to our project, so we can modify them to meet our application specific requirements. - Data context class - If your project already has a data context class, select it from the dropdown list. Otherwise, click the plus sign to have it generated.
- Click
Add
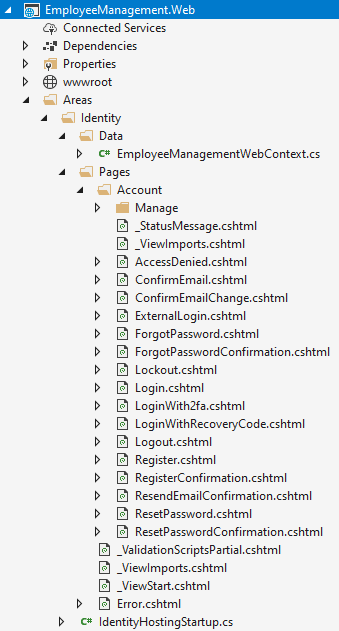
The generated identity files are stored in Areas/Identity folder.
Add and execute identity migrations
Open Package Manager Console and execute the following command add a migration
Add-Migration IdentitySupportExecute the migration
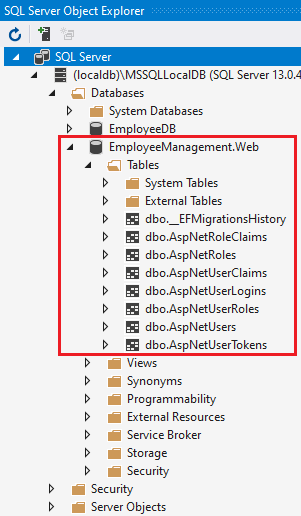
Update-DatabaseGenerated Identity Tables
You can see the generated Identity tables using the SQL Server Object Explorer in Visual Studio. The database connection string is in appsettings.json.


© 2020 Pragimtech. All Rights Reserved.