Create blazor webassembly app
In this video and in our upcoming videos, we will discuss how to create a real world Blazor WebAssembly application from scratch. We will be using Visual Studio 2019 and .NET 5.0. The following are the steps.
Create Blazor WebAssembly Project
Fireup Visual Studio 2019. Click on Create a new project.
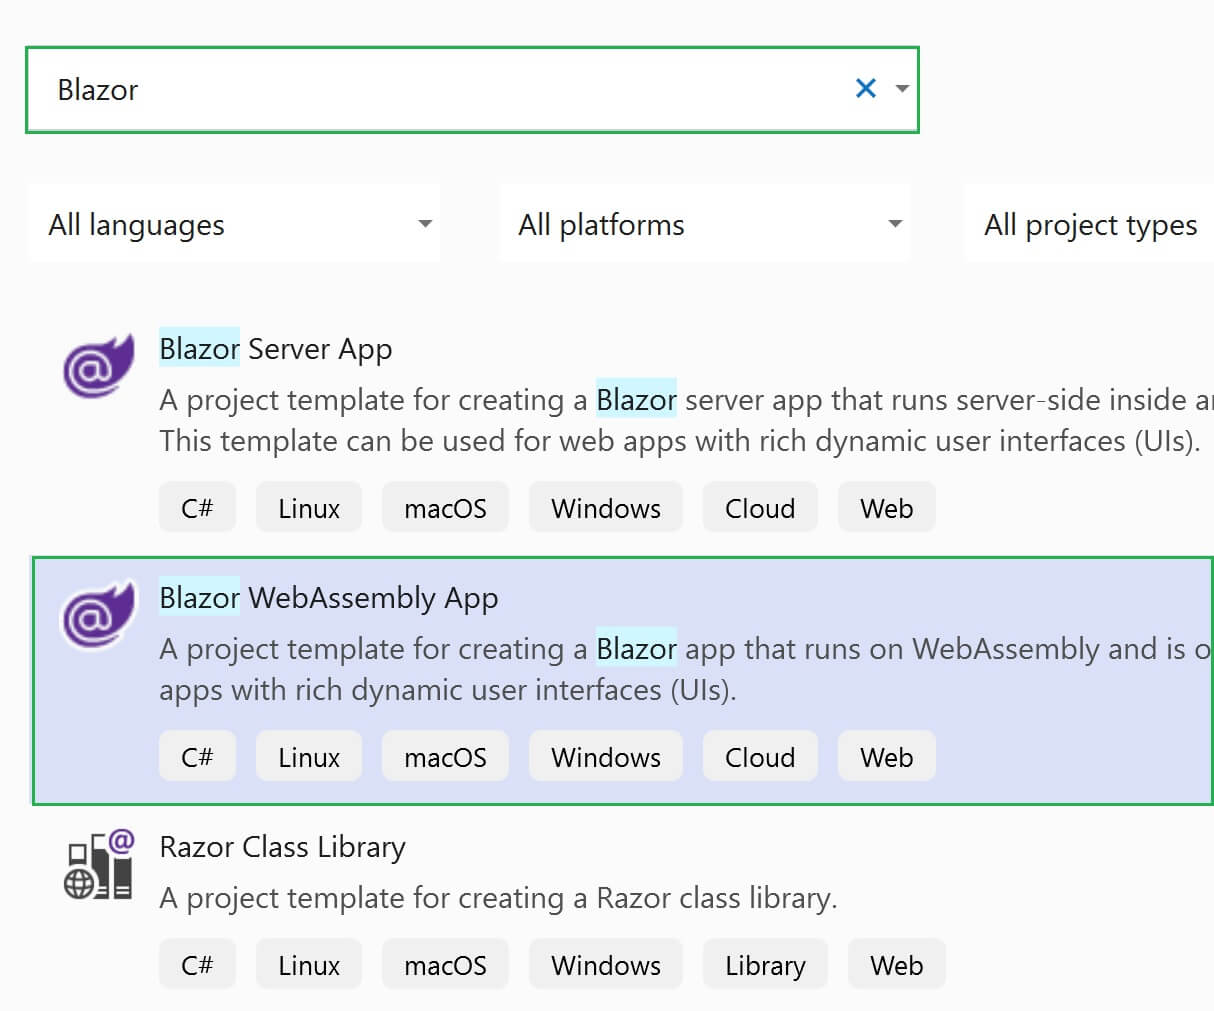
Search for Blazor templates. Select Blazor WebAssembly App template and click Next.
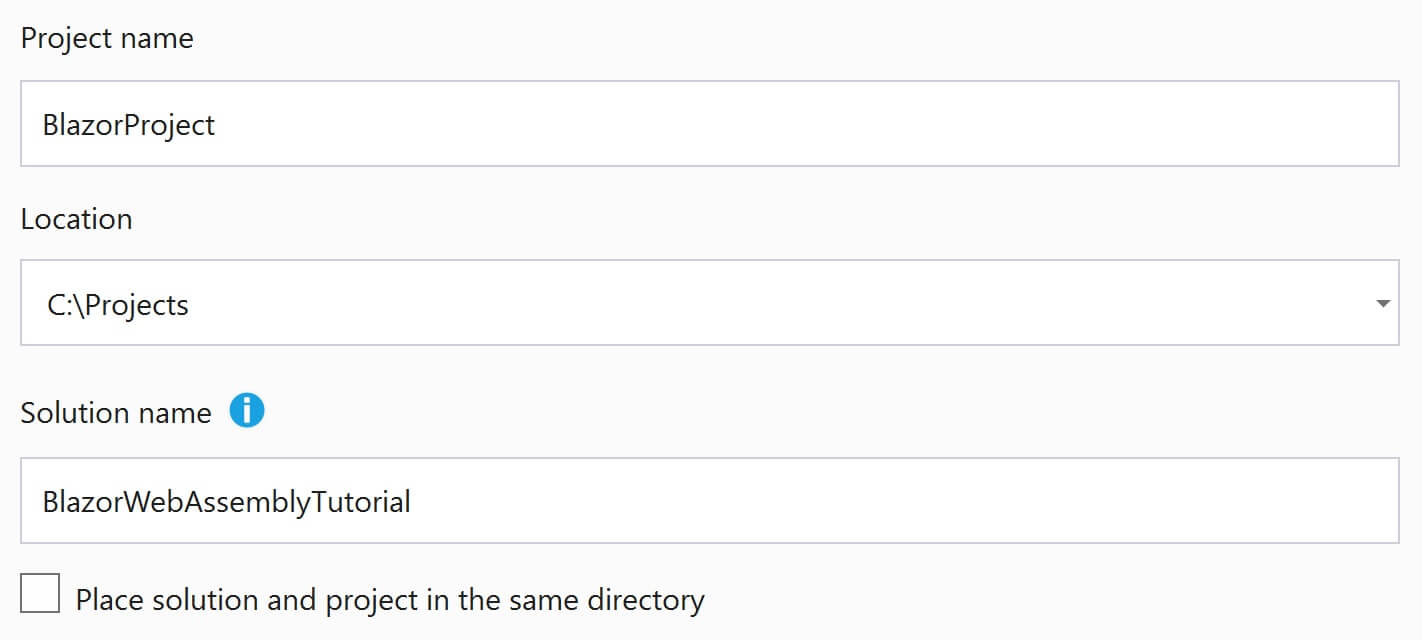
Provide the following details and click Next
- Project name
- Location
- Solution name
Select .NET 5.0 as the Target Framework. None as the Authentication Type. Check the following 3 checkboxes
- Configure for HTTPS
- ASP.NET Core hosted
- Progressive Web Application
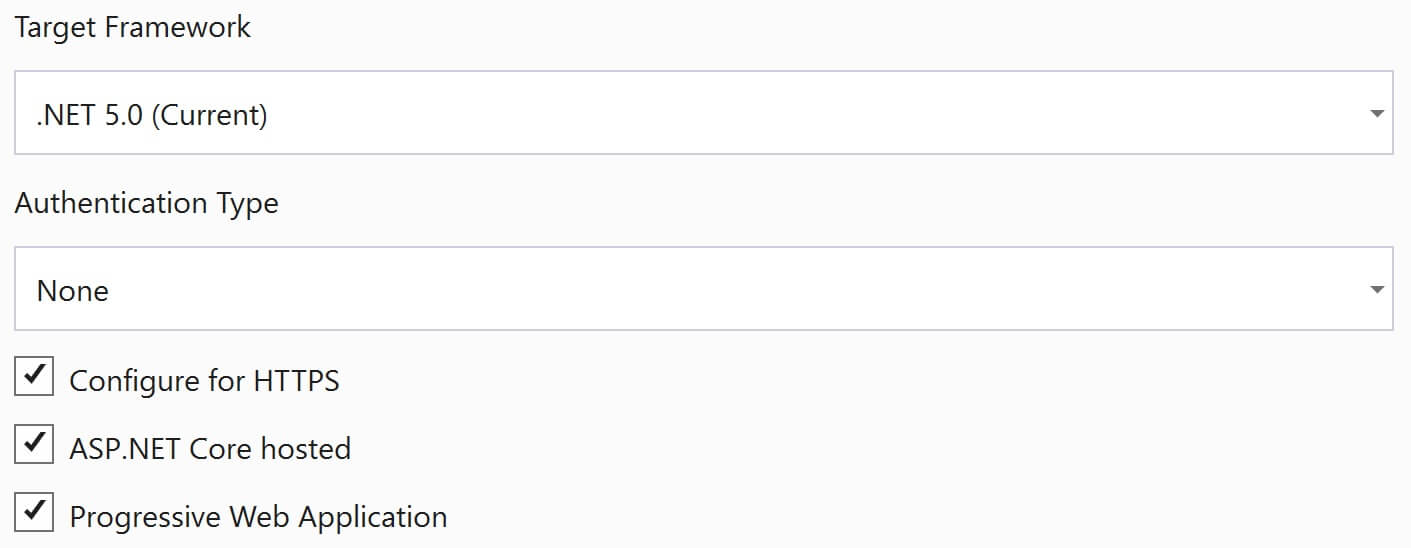
Finally click Create
Blazor Server v/s Blazor WebAssembly
As the names imply, Blazor Server App template creates a Blazor Server project and it runs on the server. Blazor WebAssemblyApp template creates a Blazor WebAssembly project and it runs in the client browser. Click here to watch the video that explains the difference between Blazor Server and Blazor WebAssembly.
What is a Progressive Web App
Click here to watch a video that explains what is a Progressive Web App.
What does ASP.NET Core Hosted mean
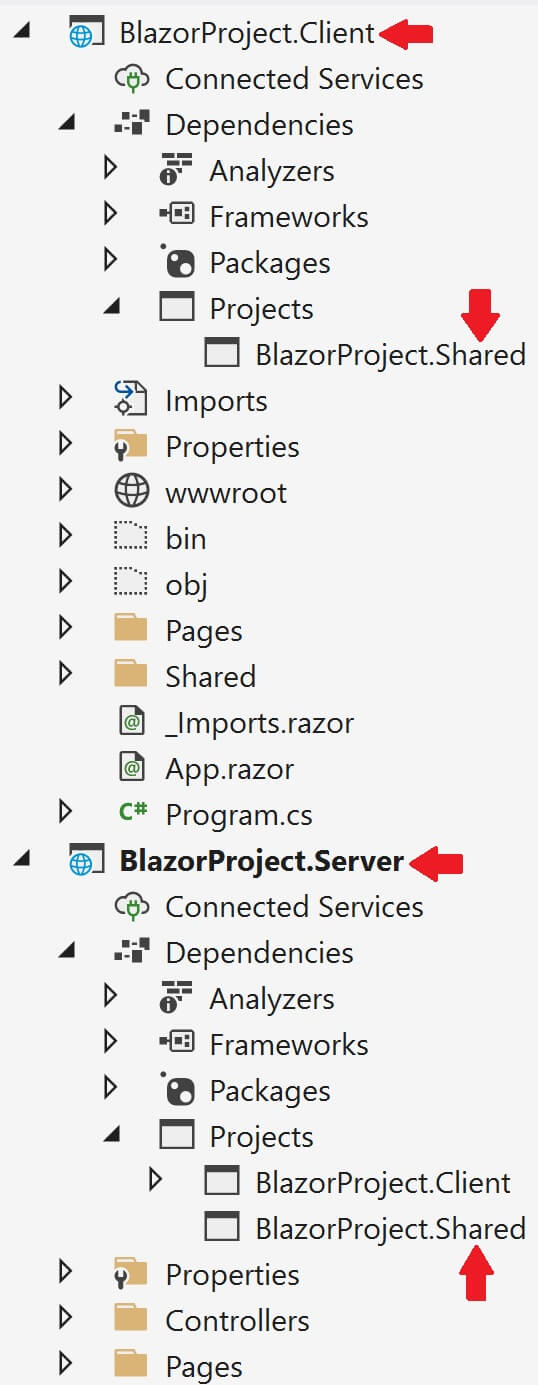
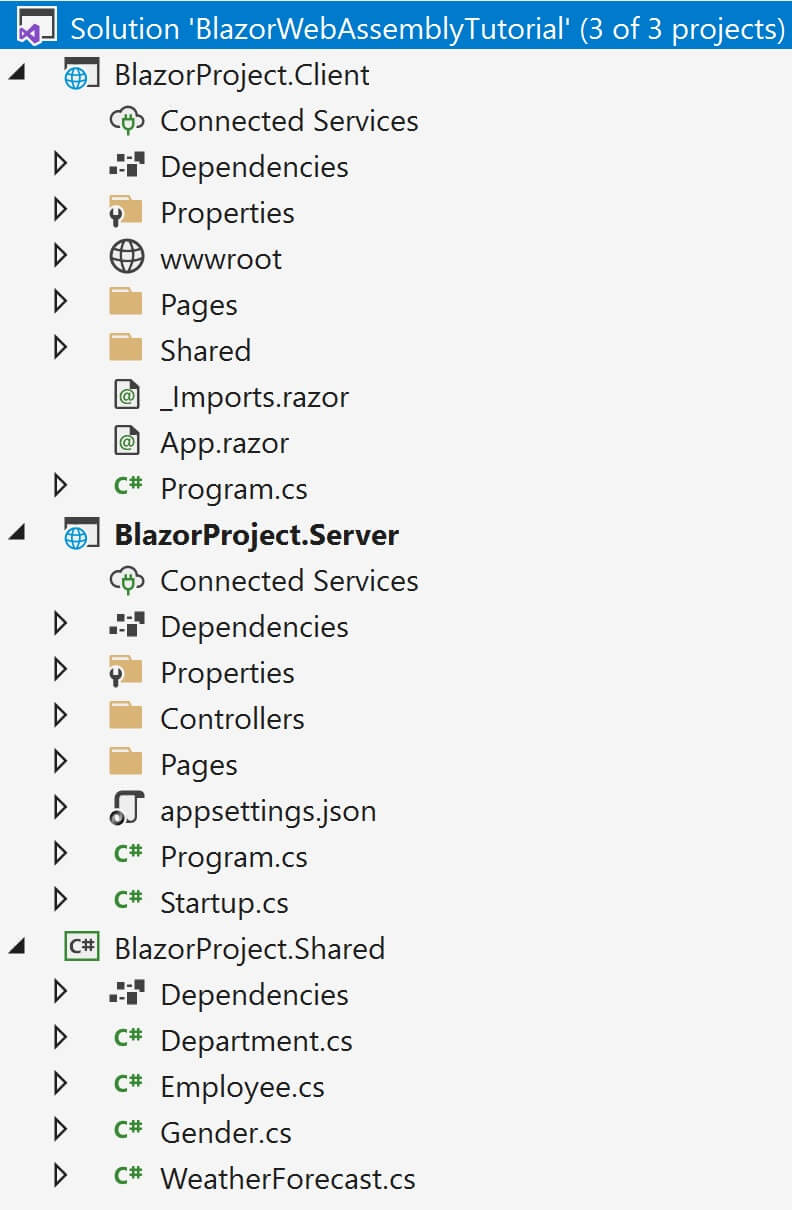
3 projects are created, when the checkbox ASP.NET Core Hosted is checked.
- [YourProjectName].Server
- [YourProjectName].Client
- [YourProjectName].Shared
The server project (i.e the project with .Server in it's name) hosts the Blazor .Client project. The Blazor client project runs directly in the client browser. So, when the first request is made, everything the application needs i.e the compiled application, it's dependencies and the .NET runtime are downloaded to the client browser from the server where it is hosted.
The server that hosts the Balzor Client Application doesn't necessarily have to be an ASP.NET Core Server. You can host it on any server. With the ASP.NET Core Hosted checkbox checked, we get a server project that hosts the Blazor client project and that's what exactly happened now.
If we do not check this checkbox, we get only one project and we can host our Blazor WebAssembly project on any server of our choice.
Blazor Shared Project
We also have a third project with .Shared in it's name. As the name implies, it contains resources that are shared by both Client and Server projects. If you right click and select Properties, you will see this is a .NET 5.0 Class Library project.

In the Solution Explorer, if you check the Client and Server project dependencies, you will see Shared project dependency in both the projects.
As we progress through this course we will be building Employee management system that allows us to Create, Read, Update and Delete employees. The following are the model classes we need.
- Gender
- Department
- Employee
Place these model classes in the .Shared project, so they can be used from both the Server and Client porjects.
// Gender.cs

public enum Gender
{
    Male,
    Female,
    Other
}
// Department.cs
public class Department
{
public int DepartmentId { get; set; }
public string DepartmentName { get; set; }
}// Employee.cs
public class Employee
{
public int EmployeeId { get; set; }
public string FirstName { get; set; }
public string LastName { get; set; }
public string Email { get; set; }
public DateTime DateOfBrith { get; set; }
public Gender Gender { get; set; }
public int DepartmentId { get; set; }
public string PhotoPath { get; set; }
public Department Department { get; set; }
}At this point your project in the Solution Explorer should look something like the following.
Why use Syncfusion Blazor Components
- Well, there are over 70+ components, and all these work with both Blazor Server side and Client side projects seamlessly.
- Every component is fine-tuned to work with a high volume of data. So performance should not be an issue.
- Very good documentation and unlimited dedicated support from Syncfusion.
- You will be amazed by the power and functionality these components bring to your Blazor apps.
- They are very easy to integrate, configure and use.
How to use Syncfusion Blazor components in Blazor WebAssembly App
Each Syncfusion Blazor component is available as a separate Nuget package. For example, if you want to use the Grid Syncfusion component.
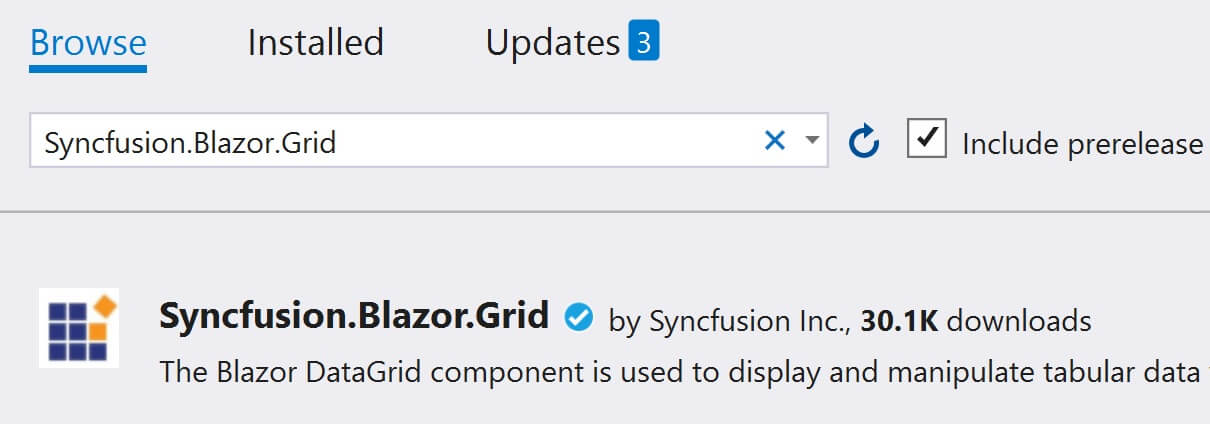
Right Click on BlazorProject.Client project and select Manage Nuget Packages.
Click on the Browse tab and search for Syncfusion.Blazor.Grid. Click the Install button and follow the onscreen instructions to install the Nuget package.
Add the Syncfusion bootstrap4 theme in the <head> element of the ~/wwwroot/index.html page.
<link href="_content/Syncfusion.Blazor.Themes/bootstrap4.css" rel="stylesheet" />Using Syncfusion Grid component in a razor page
Include the following 2 using declarations in _Imports.razor file
@using Syncfusion.Blazor
@using Syncfusion.Blazor.Grids
In Program.cs file register the Syncfusion Blazor Service
public static async Task Main(string[] args)
{
    ....
    builder.Services.AddSyncfusionBlazor();
    await builder.Build().RunAsync();
}
You can now use the Syncfusion Grid component in any Razor page.
@page "/"
@using BlazorProject.Shared
@using Syncfusion.Blazor.Grids
<SfGrid DataSource="@Employees">
<GridColumns>
<GridColumn Field=@nameof(Employee.EmployeeId) HeaderText="Employee ID"></GridColumn>
<GridColumn Field=@nameof(Employee.FirstName) HeaderText="First Name"></GridColumn>
<GridColumn Field=@nameof(Employee.LastName) HeaderText=" Last Name"></GridColumn>
<GridColumn Field=@nameof(Employee.Email) HeaderText="Email"></GridColumn>
</GridColumns>
</SfGrid>
@code {
public List<Employee> Employees { get; set; }
protected override void OnInitialized()
{
Employees = LoadData();
}
private List<Employee> LoadData()
{
Employee e1 = new Employee
{
EmployeeId = 1,
FirstName = "John",
LastName = "Hastings",
Email = "john@pragimtech.com",
DateOfBrith = new DateTime(1980, 10, 5),
Gender = Gender.Male,
Department = new Department { DepartmentId = 1, DepartmentName = "IT" },
PhotoPath = "images/john.png"
};
Employee e2 = new Employee
{
EmployeeId = 2,
FirstName = "Sam",
LastName = "Galloway",
Email = "sam@pragimtech.com",
DateOfBrith = new DateTime(1981, 12, 22),
Gender = Gender.Male,
Department = new Department { DepartmentId = 2, DepartmentName = "HR" },
PhotoPath = "images/sam.jpg"
};
Employee e3 = new Employee
{
EmployeeId = 3,
FirstName = "Mary",
LastName = "Smith",
Email = "mary@pragimtech.com",
DateOfBrith = new DateTime(1979, 11, 11),
Gender = Gender.Female,
Department = new Department { DepartmentId = 1, DepartmentName = "IT" },
PhotoPath = "images/mary.png"
};
Employee e4 = new Employee
{
EmployeeId = 3,
FirstName = "Sara",
LastName = "Longway",
Email = "sara@pragimtech.com",
DateOfBrith = new DateTime(1982, 9, 23),
Gender = Gender.Female,
Department = new Department { DepartmentId = 3, DepartmentName = "Payroll" },
PhotoPath = "images/sara.png"
};
return new List<Employee> { e1, e2, e3, e4 };
}
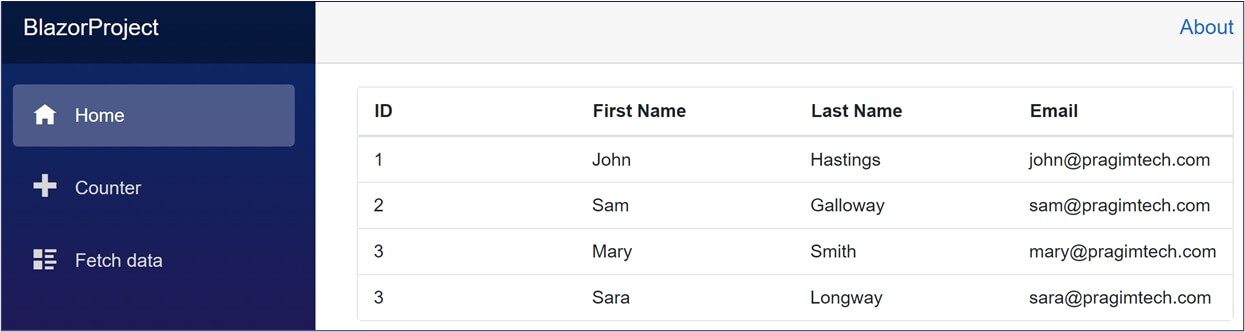
}At this point, if you run the project, the data should be displayed in a Grid as shown below.
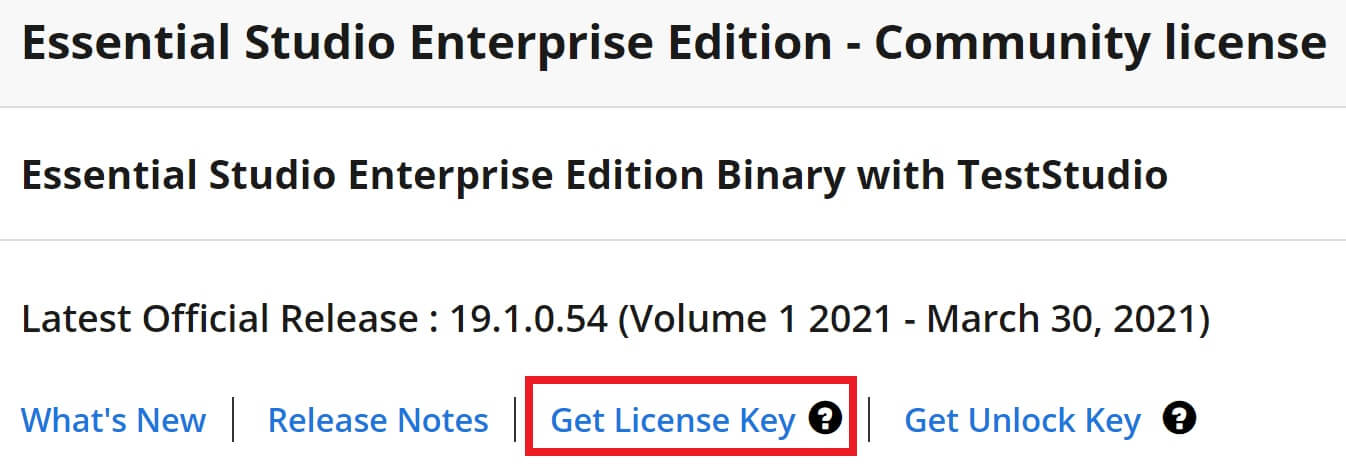
If you get a license validation message, register your license key in the Main() method in Program.cs file.
Syncfusion.Licensing.SyncfusionLicenseProvider.RegisterLicense("Your_License_Key")Please note, Syncfusion components are free to use with their Community license if you are an individual or a company with less than $1 million USD in annual gross revenue and have 5 or fewer developers.
License keys can be generated from the License & Downloads or Trail & Downloads section of the Syncfusion website.
Syncfusion DataGrid component is very powerful and it offers several features like
- Adpative UI
- Touch Support
- Globalization and Localization
- Sorting
- Paging
- Filtering
- Supports all the CRUD operations
- Aggregated column values
- Export to Excel, PDF and CSV
We will discuss implementing some of these features in our next video.


© 2020 Pragimtech. All Rights Reserved.