How to deploy web application with sql database to azure
In this video, we will discuss how to deploy a web application with sql database to azure.
There are several approaches to this. Which approach you choose really depends on the data access framework you are using in your web application. For example, if you are using entity framework code first approach, you can write code and execute sql migrations to create database, database objects like tables, views, stored procedures etc. You can also seed the database with data.
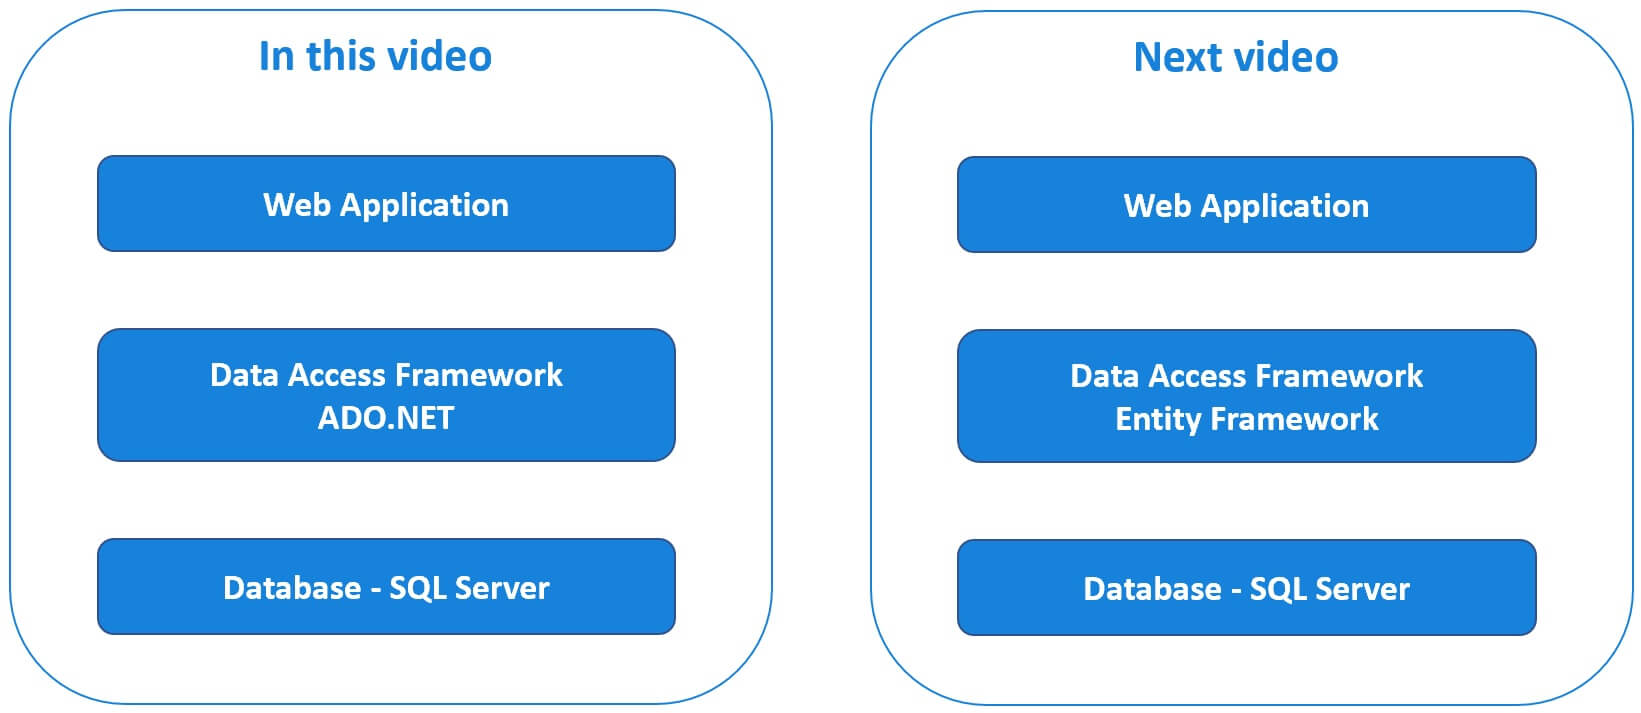
What if you are not using entity framework in your application. Again, there are several approaches to migrate your SQL database to azure. In this video, we will migrate a web application that uses SQL server as the database and ADO.NET as the data access technology. In our next video, we will discuss how to migrate a web application that uses SQL server as the database and entity framework as the data access technology.
Deploy web application with SQL database and ADO.NET
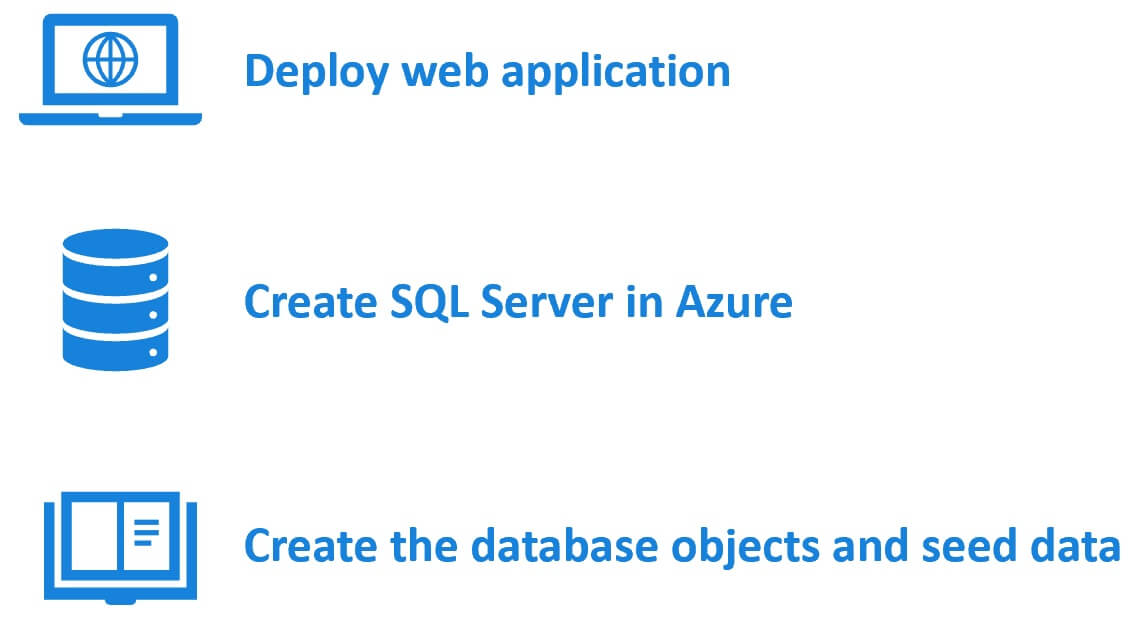
It's a three step process to deploy an ASP.NET web application with SQL Server as the database and ADO.NET as the data access framework.
Step 1 : Deploy web application
The first step is to deploye the web application itself. We discussed how to do this in our previous video. Please check out the following text article and video for details on how to do this.
Step 2 : Create SQL Server in Azure
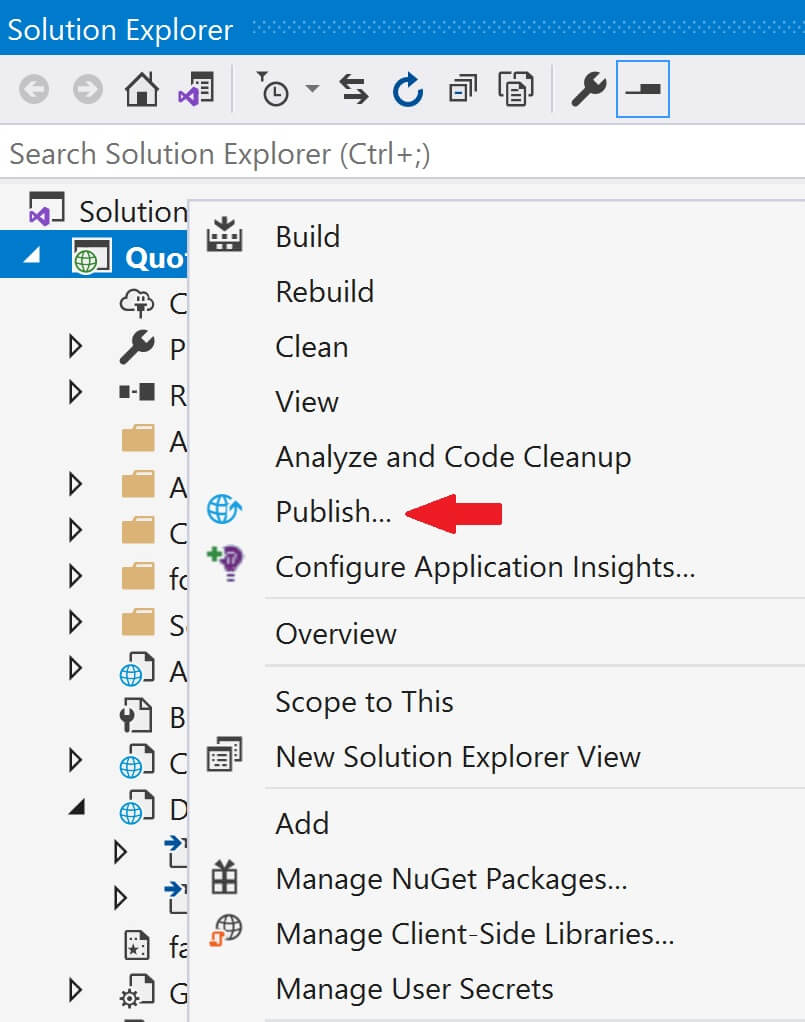
There are several ways to do this. We can do it directly in the azure portal or through visual studio. For this example, let's do it through Visual Stduio. Go to the Publish page in Visual Studio. To do this, right click on the web application project in Visual Studion and select Publish from the context menu.
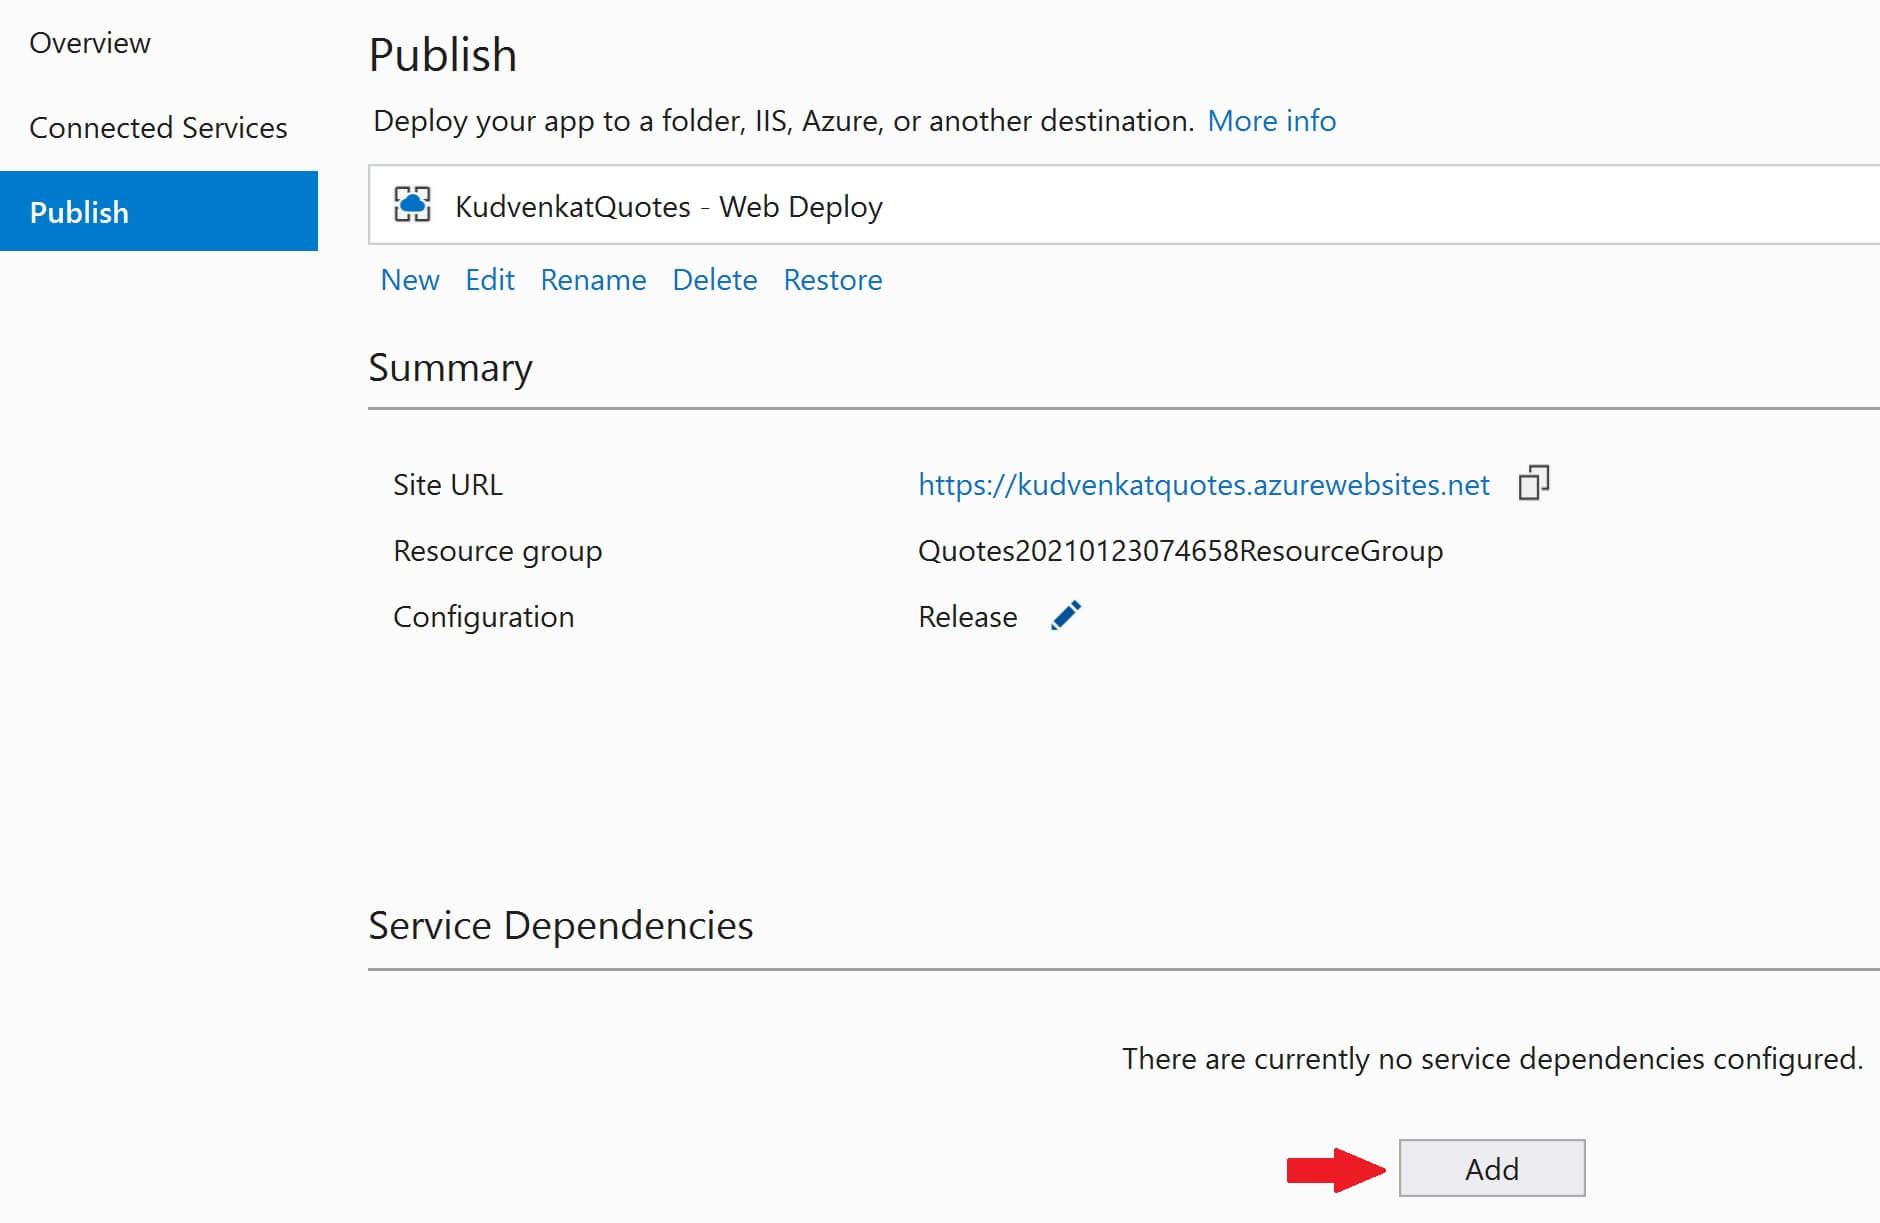
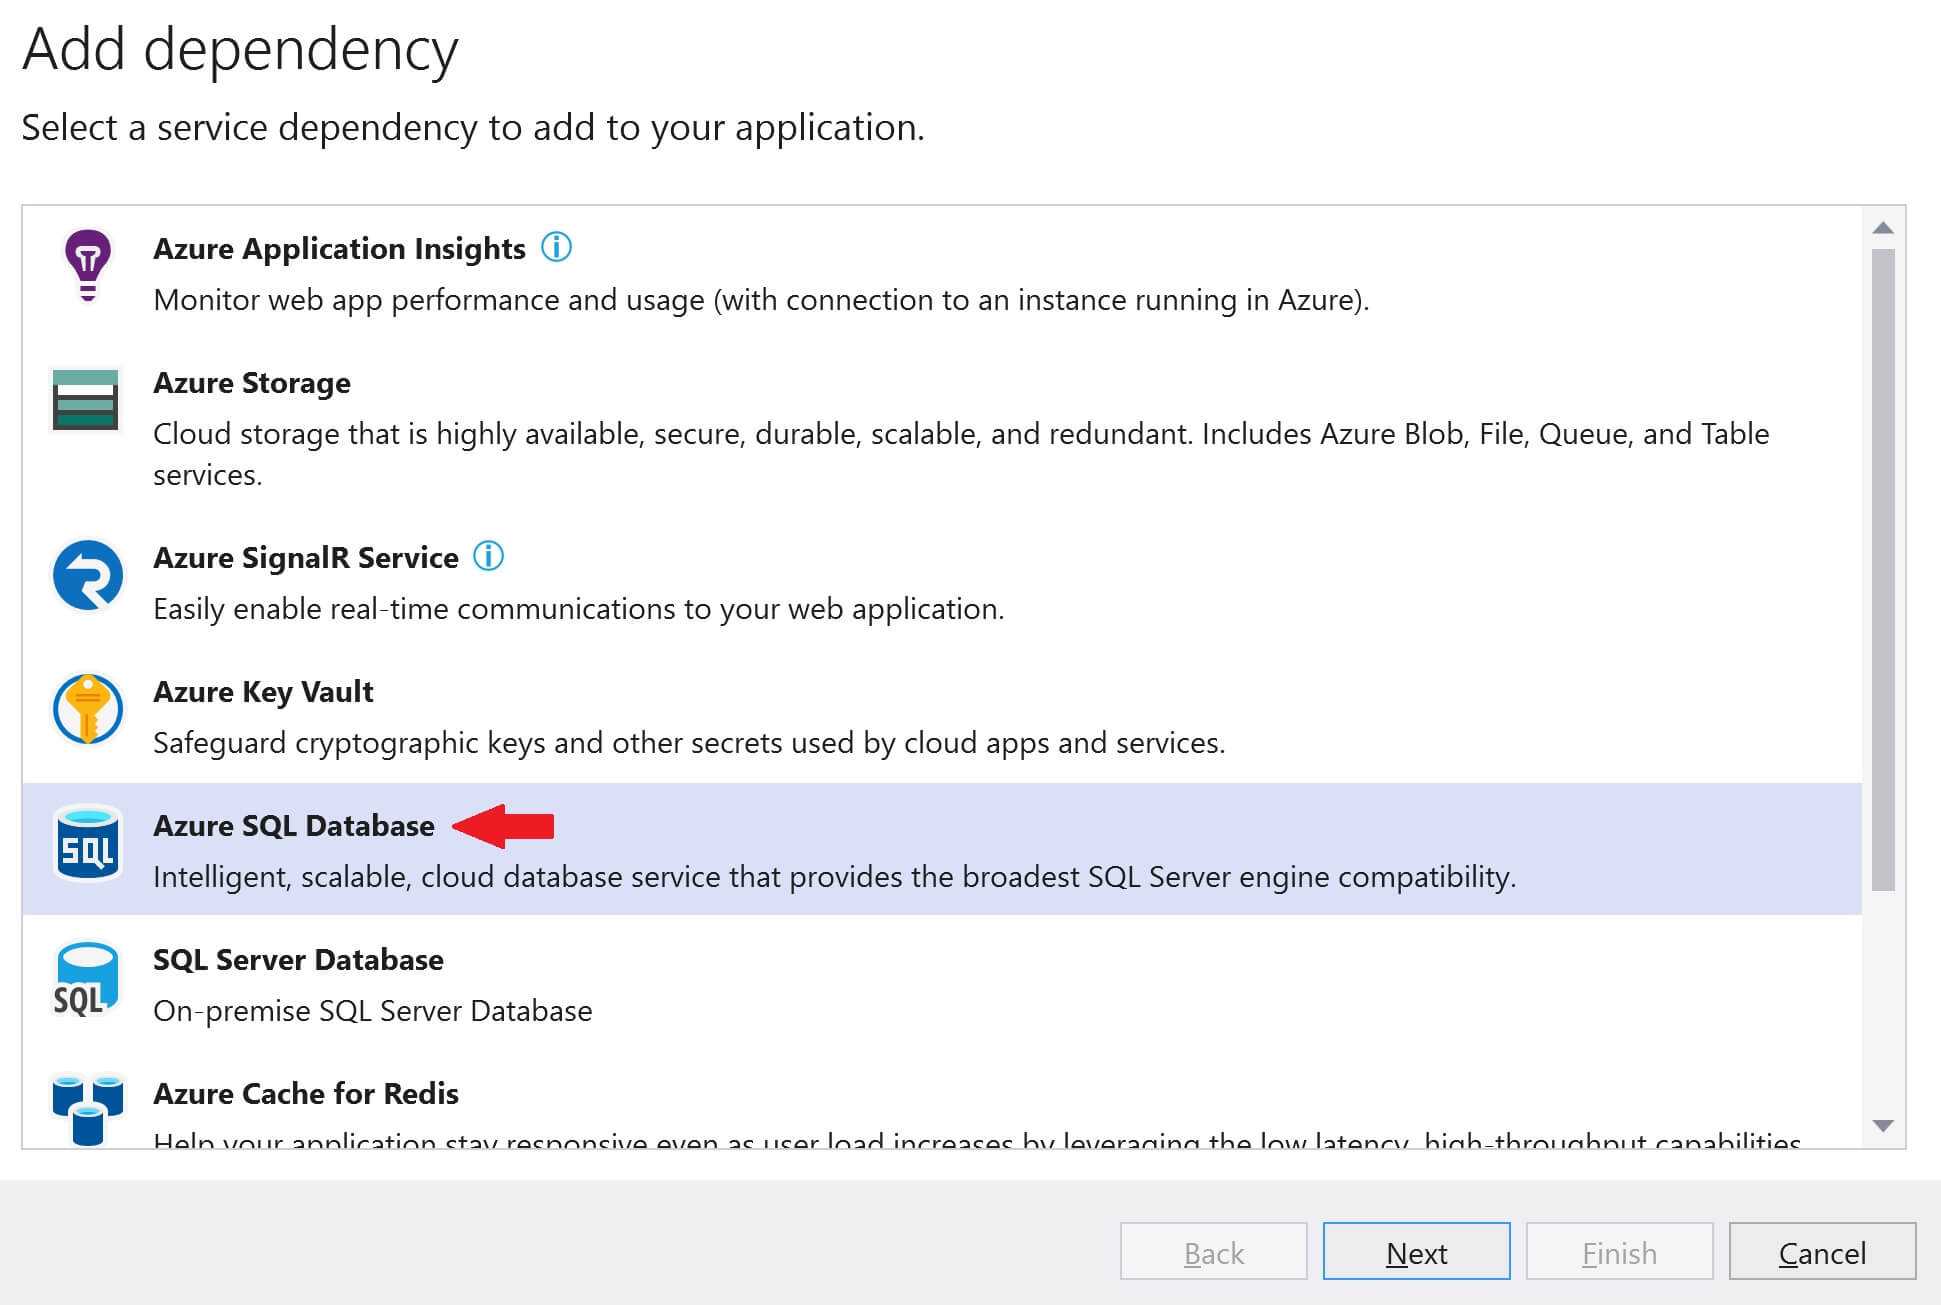
Under Service Dependencies, click the Add button to add SQL Server dependency.
Select Azure SQL Database and click Next
Select your azure subscription from the Subscription dropdownlist and then click on the + sign to create a new SQL Database in Azure.
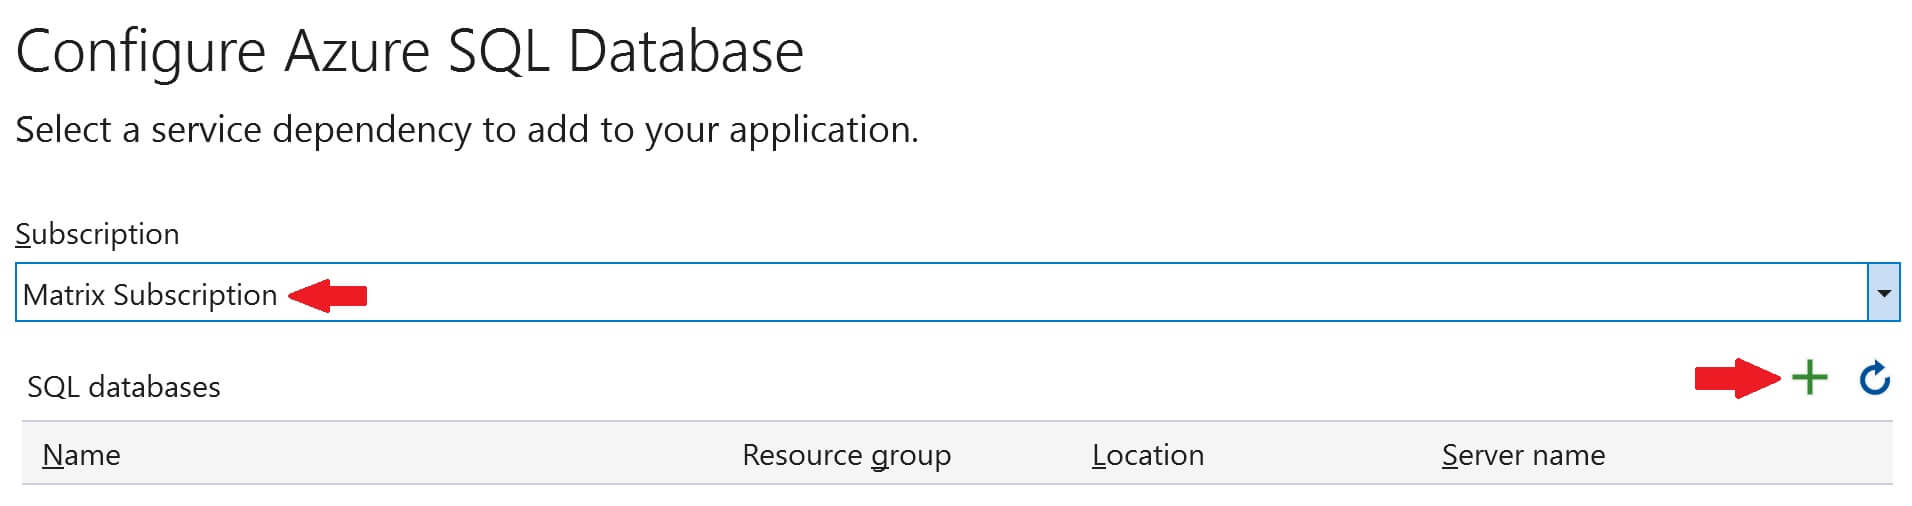
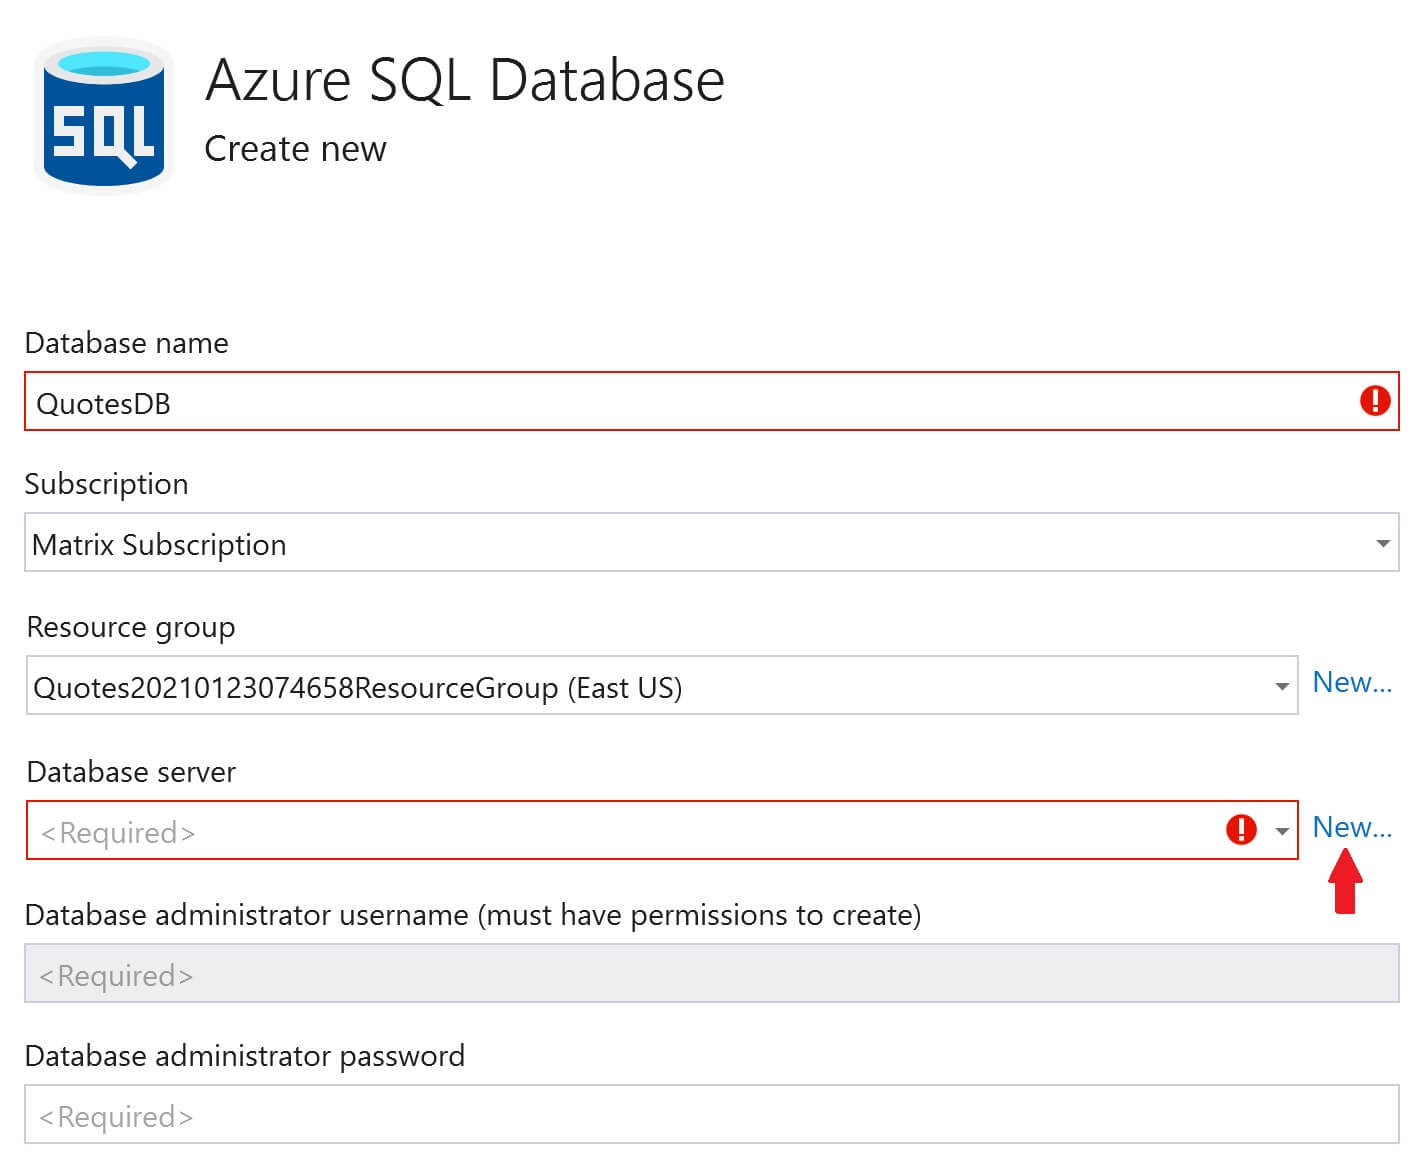
Before we can create a database, we need to create a database server. So, click on the New link, next to Database server dropdownlist.
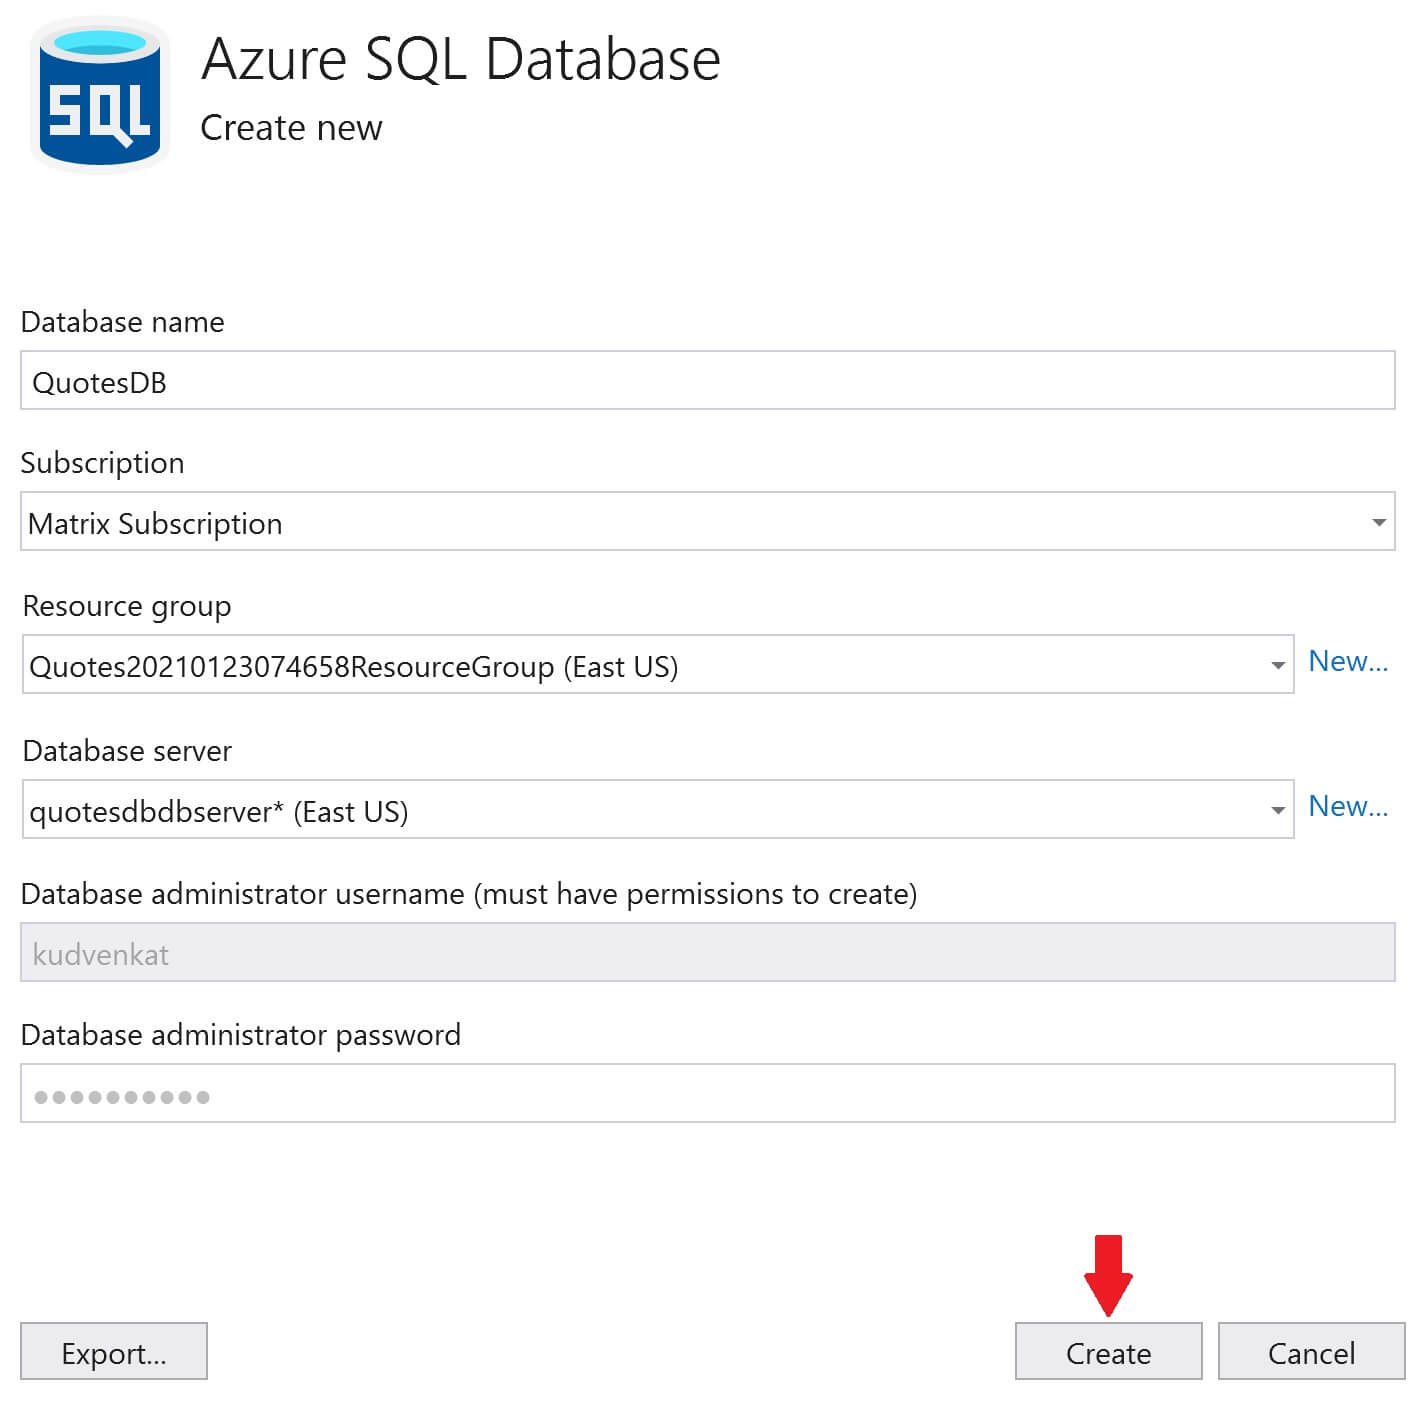
Fill the following details and click OK
- Database server name
- Location (Azure Region) where you want the server to be created
- Administrator username and password
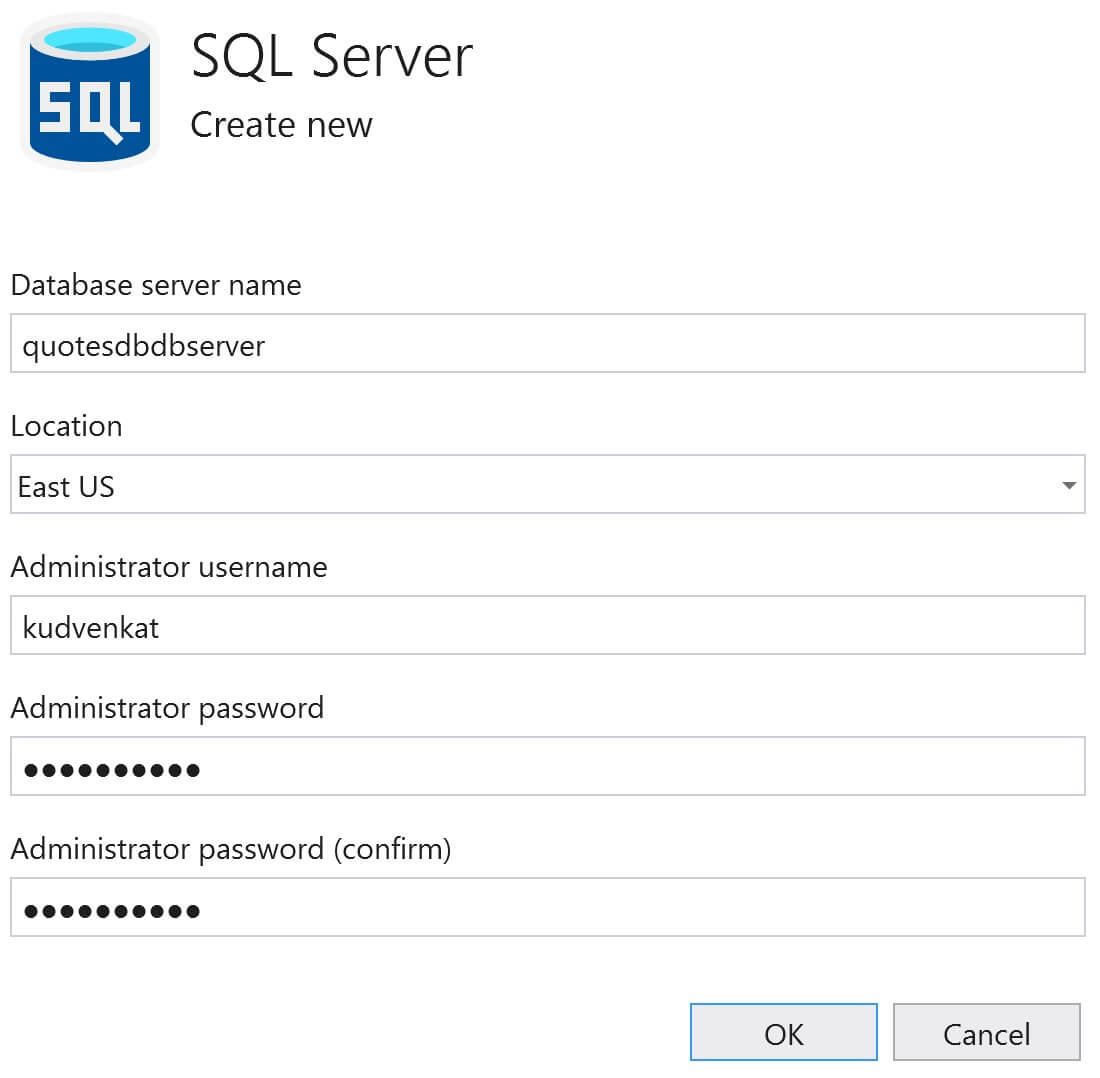
You will be back on Azure SQL Database window. Click Create. This creates both - Database server and the database itself.
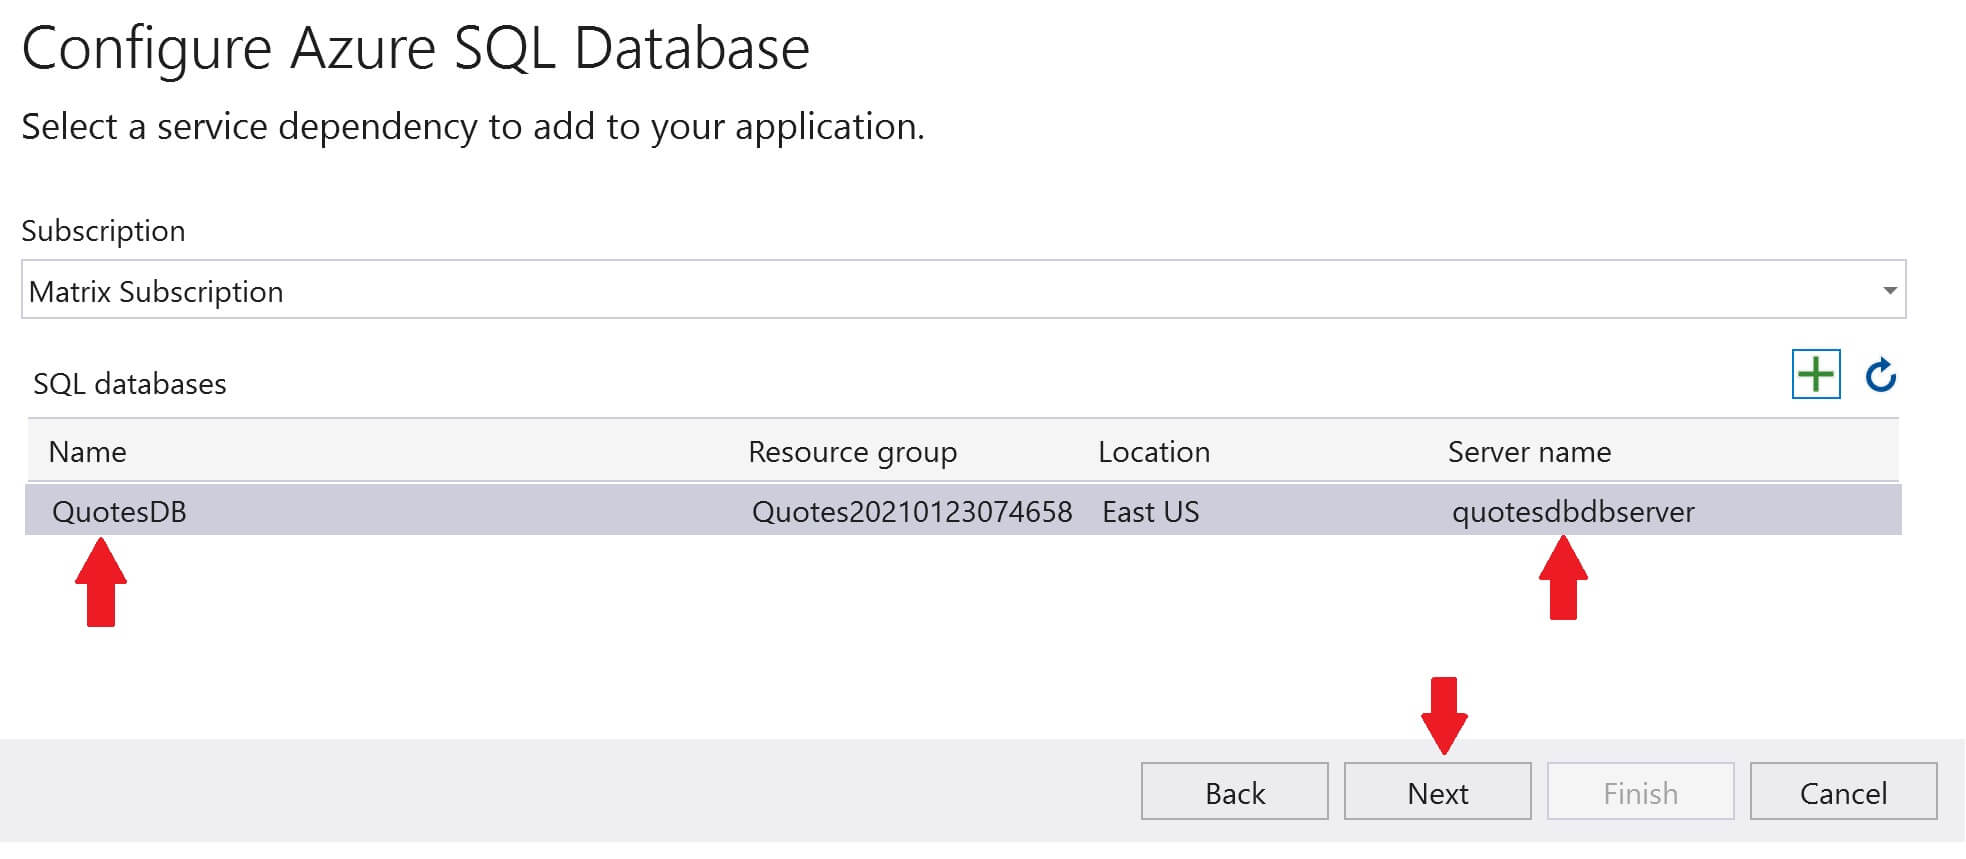
Both the database server and the database are now created in azure. Click Next.
Specify the Database connection string, user name and password. This connection will be used by the web application to connect to the sql server database in azure. Click Next.

The connection string will be stored in Azure App Settings. If you are new to Azure App Settings and Azure Key Vault, we will discuss them in our upcoming videos.
Finally click Finish and then Close.
Step 3 : Create the database objects and seed data
The final step is to create the database tables and populate them with initial data for the app. Again, there are 2 ways to do this. Either you can use SQL Server Management Studio on your local machine or the built-in Query Editor in azure portal.
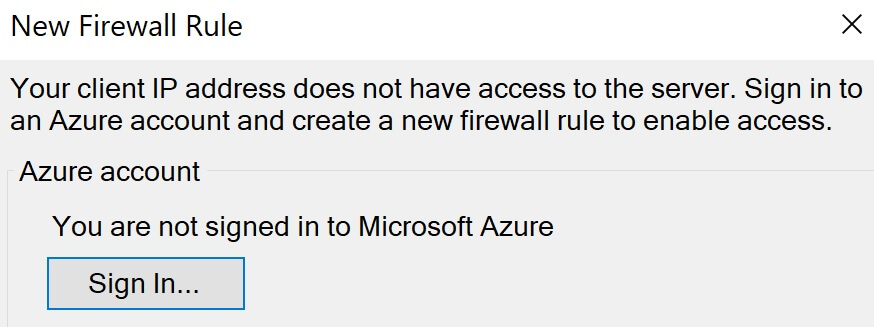
For security reasons, by default, the SQL Server in azure is locked down. If you want to be able to connect to it and execute SQL queries from your local machine, you have to create a firewall wall rule, that allows your laptop to connect. Otherwise you will get the following connection error.
Configure azure sql server to allow remote connections
- Navigate to your SQL Server instance in Azure.
- Click on Firewalls and virtual networks under
Securitysection. - Your device IP address will be displayed. As you can see in the image, The device I am using to connect to azure sql server starts with 82.129.
- Click
Add client IPlink at the top andSave.
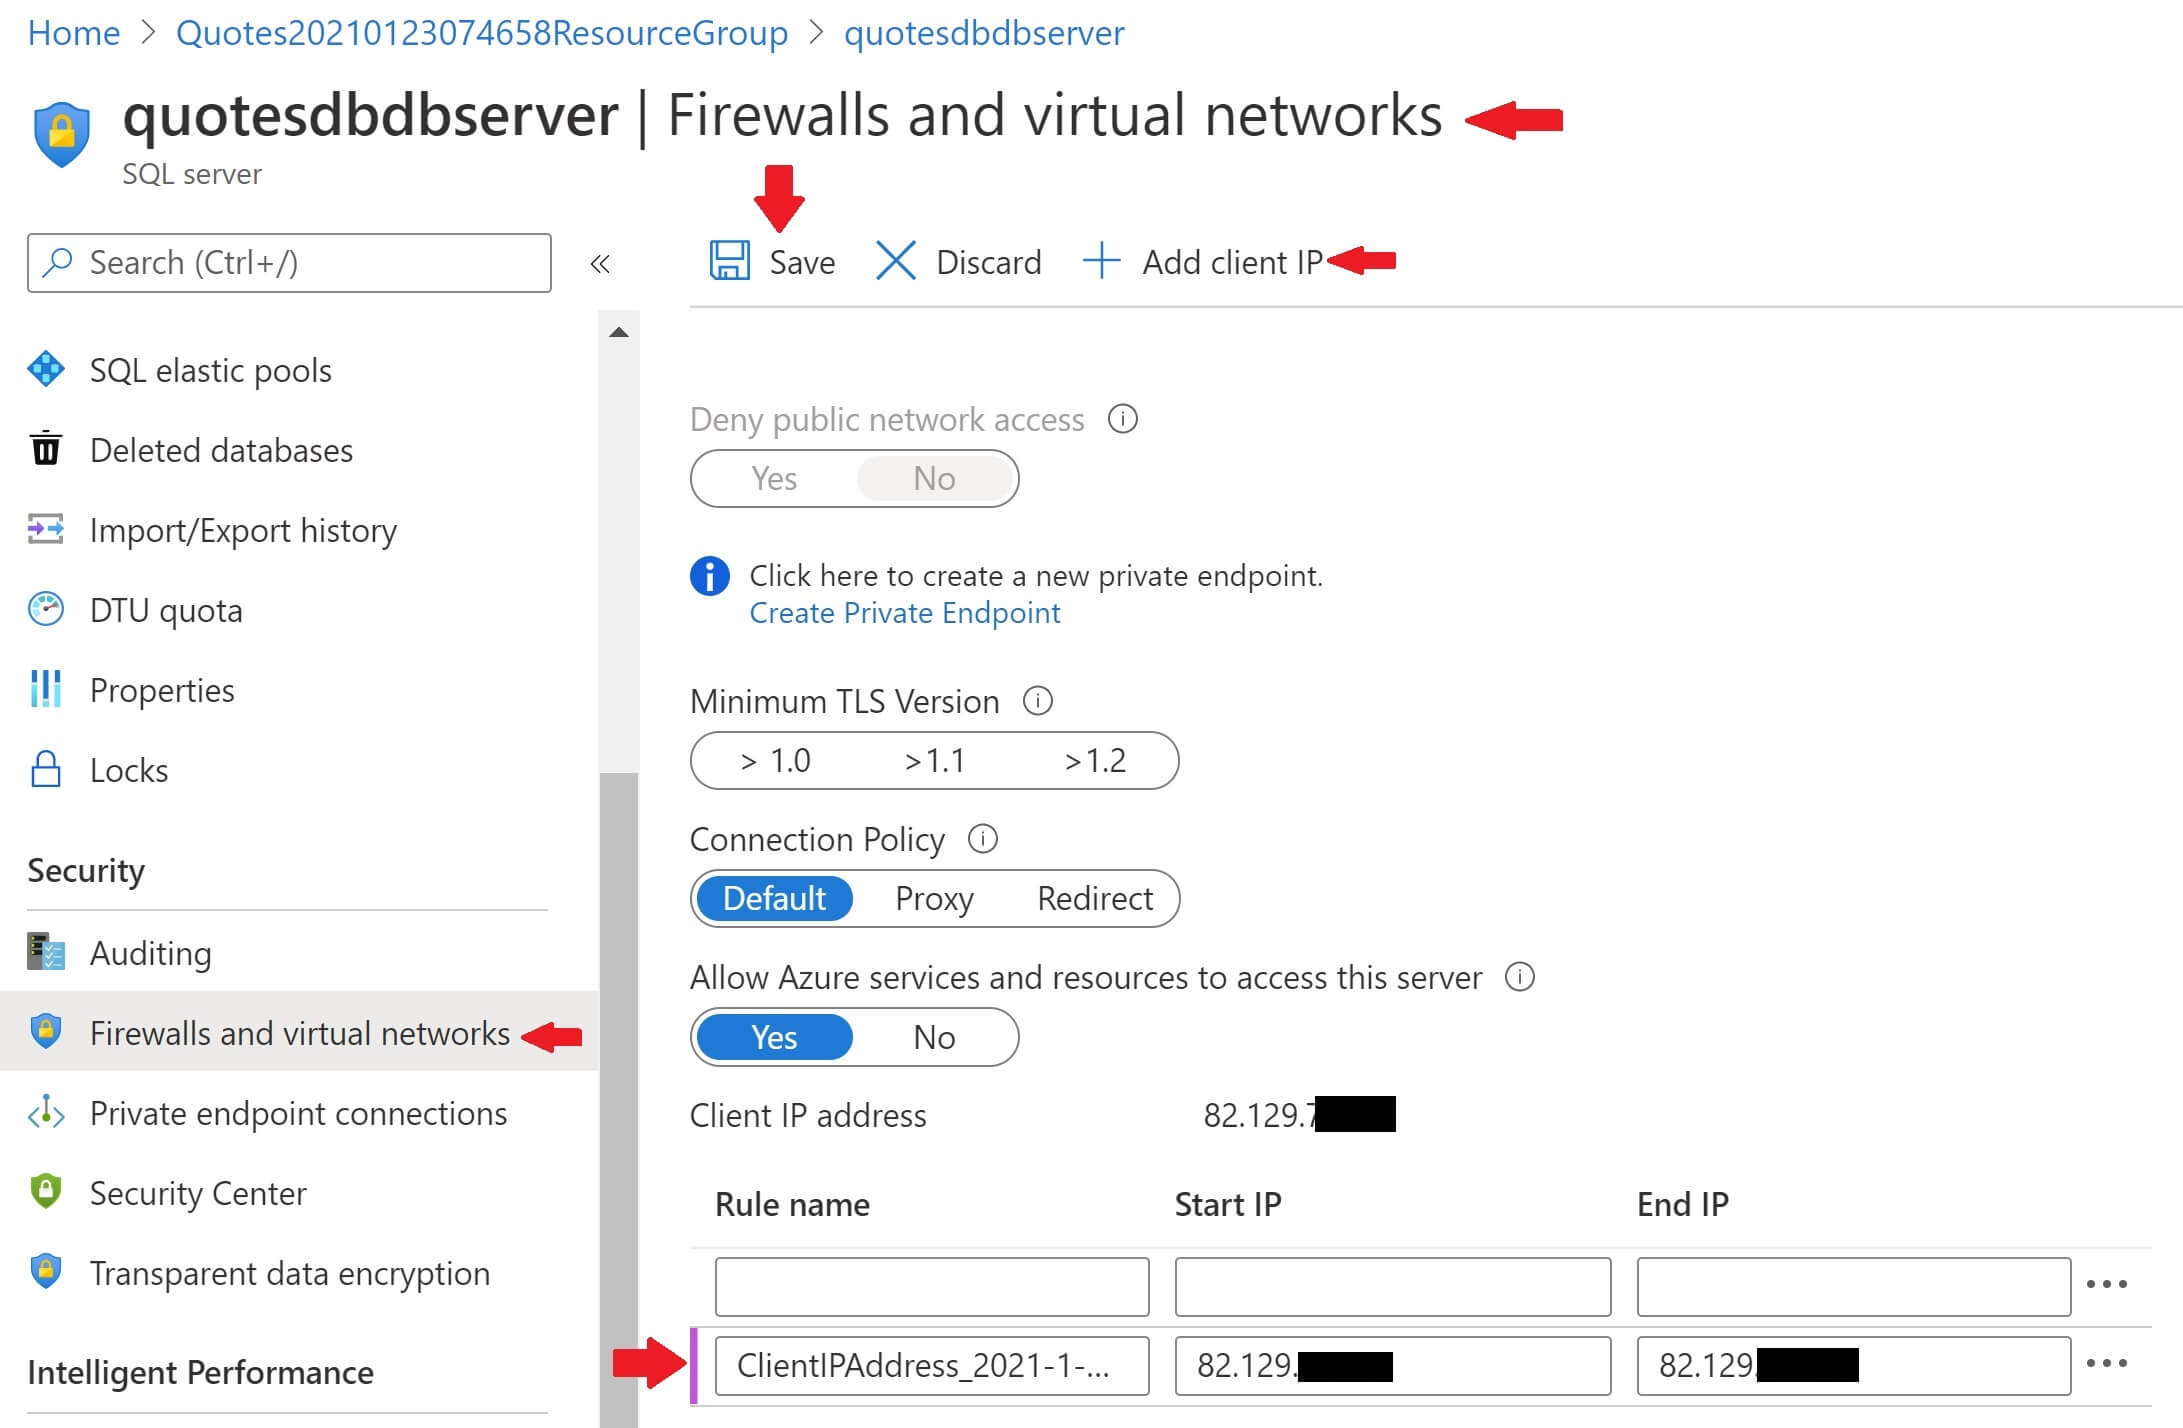
With this firewall rule in place, you should be able to connect to azure sql server using SQL Server Management studio from you local machine.
Execute the following queries. Your web application with sql server are deployed to Azure and you should be able to access your application.
Create Table Quotes
(
	Id int identity primary key,
	Quote nvarchar(255)
)
Go

Insert into Quotes values ('Creativity is intelligence having fun')
Insert into Quotes values ('Champions keep playing until they get it right')
Insert into Quotes values ('The best time to plant a tree was 20 years ago. The second best time is now')
Insert into Quotes values ('The only person you are destined to become is the person you decide to be')
Insert into Quotes values ('Believe you can and you’re halfway there')
Go


© 2020 Pragimtech. All Rights Reserved.